Unlocking The Art Of Scissors Drawing: Easy Steps For All Ages
Have you ever looked at a simple pair of scissors and thought, "That can't be too hard to draw," only to find yourself tangled in a maze of weird angles, tricky edges, and seemingly impossible shapes? You're not alone. What appears to be a mundane, everyday object often presents an unexpected challenge for aspiring artists. But fear not! This comprehensive guide is designed to demystify the process of scissors drawing, transforming it from a frustrating endeavor into an enjoyable and rewarding artistic experience for both kids and adults.
Drawing is a skill, and like any skill, it improves with practice and the right guidance. Whether you're a complete beginner eager to learn how to draw a great looking scissors, or an experienced artist looking to enhance your school object drawings, this article will walk you through simple, step-by-step instructions. We'll explore various techniques, from breaking down the form into easy geometric shapes to adding the nuanced details that bring your drawing to life. Get ready to transform your perception of this humble tool and discover the joy of creating a perfect scissors on paper.
Table of Contents
- The Unexpected Complexity of Scissors Drawing
- Why Mastering Scissors Drawing Matters for Artists
- Demystifying the Process: A Step-by-Step Guide to Scissors Drawing
- Exploring Diverse Scissors Designs in Your Art
- Ella Richards: A Visionary in Scissor Drawings
- Making Scissors Drawing Fun and Accessible for Kids
- Essential Resources for Your Scissors Drawing Journey
- Cultivating Your Artistic Eye Beyond the Basic Outline
The Unexpected Complexity of Scissors Drawing
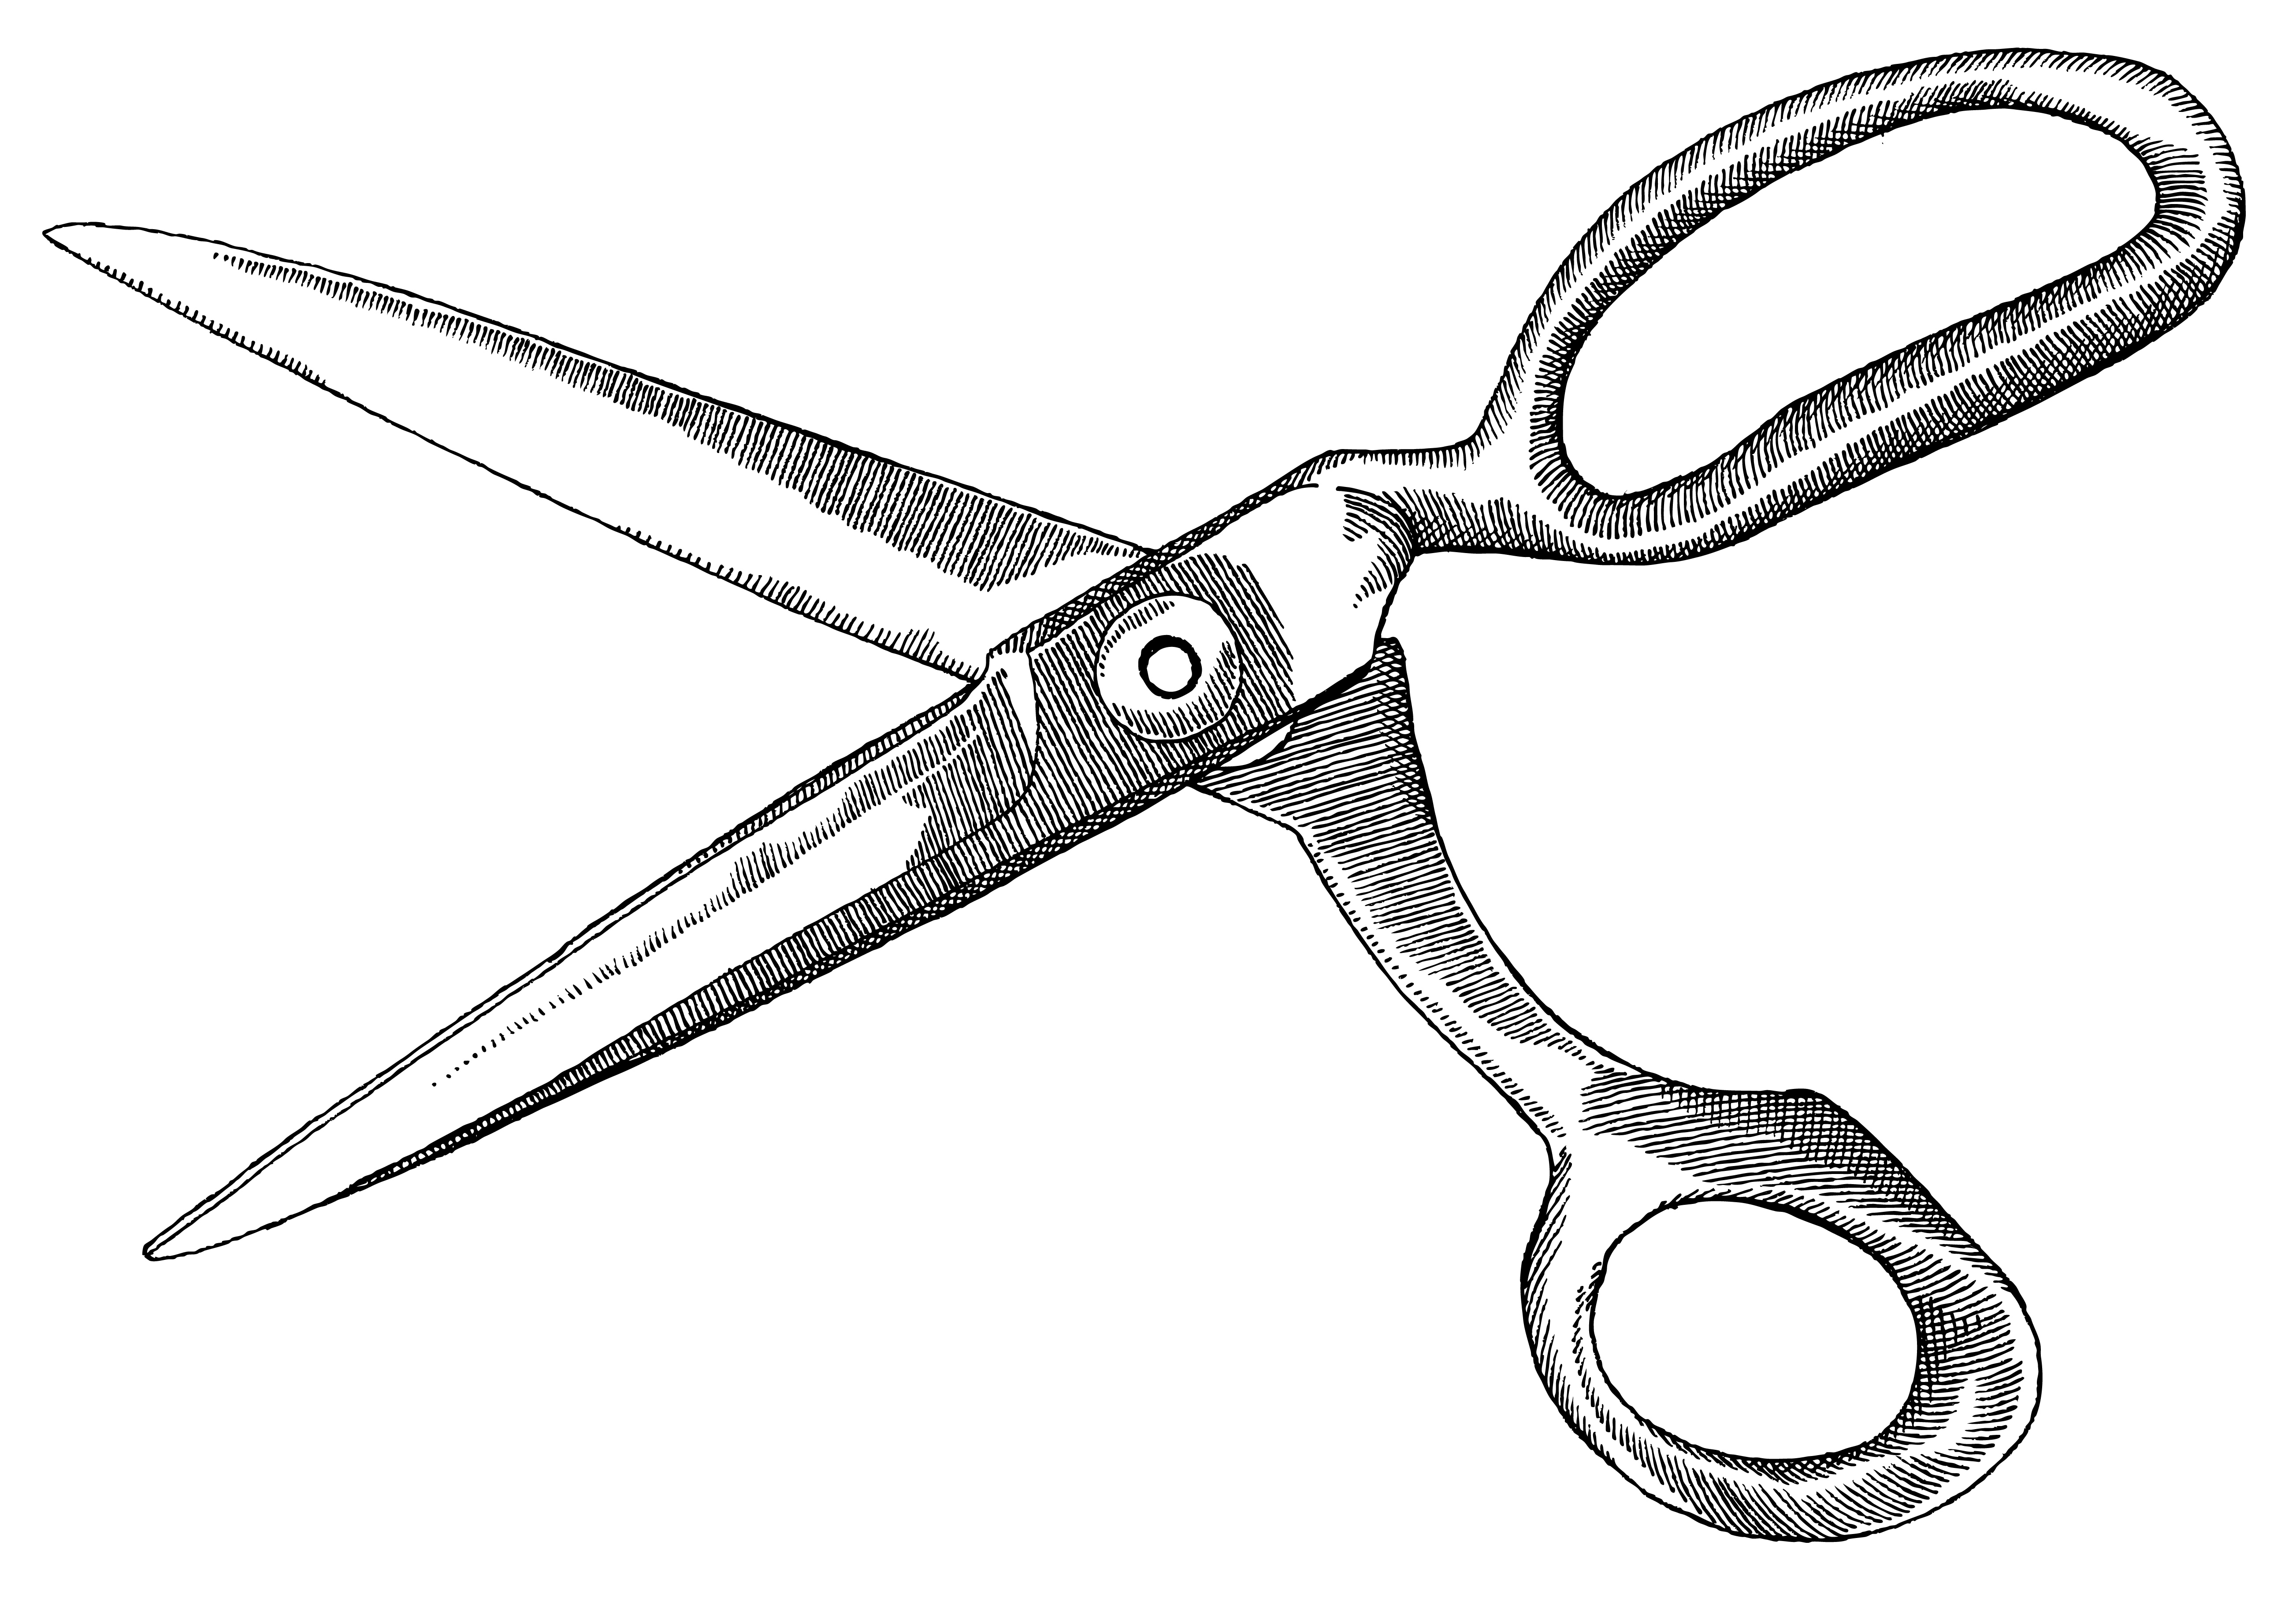
At first glance, a pair of scissors seems straightforward: two blades, two handles, a pivot point. Simple, right? Yet, many people find them very hard to draw. The challenge lies in the subtle curves, the precise angles where the blades meet, and the elliptical or teardrop shapes of the finger bows (handles). There's a lot of weird angles, edges, and shapes that have to look just right to convey the functionality and balance of the object. If one part is off, the entire drawing can look distorted or unusable.
- King Von Autopsy
- Sophie Raiin Spider Man
- Delicious And Personalized The Art Of Custom Udon Creations
- Aditi Mistry Nip Slip The Full Story Behind The Viral Moment
- Rik Estrada Larry Wilcox
Unlike a simple square or circle, scissors possess a dynamic form. The blades often have a slight bend, tapering from the tip towards the base, and the handles are three-dimensional, requiring an understanding of perspective to render convincingly. This combination of linear precision and organic curves makes scissors drawing a surprisingly complex exercise, pushing artists to pay close attention to proportion, symmetry, and form. It's a fantastic object to practice observational drawing skills because it demands accuracy.
Why Mastering Scissors Drawing Matters for Artists
Beyond the immediate satisfaction of successfully rendering a challenging object, learning how to draw a scissors offers numerous benefits for artists of all levels. Firstly, it significantly enhances your "school object drawings." Scissors are a common item in classrooms, offices, and craft spaces, making them a practical subject for still life compositions or illustrative work. Being able to confidently draw them adds a valuable tool to your visual vocabulary.
Secondly, the process of drawing scissors hones fundamental artistic skills. It forces you to think in terms of geometric shapes, letters, and numbers – breaking down a complex form into simpler components. This analytical approach is crucial for tackling more intricate subjects in the future. Moreover, it improves your understanding of perspective, proportion, and the interplay of positive and negative space. Mastering this seemingly mundane object can unlock your ability to draw other complex tools, machinery, or even organic forms with greater confidence and accuracy. It's a stepping stone to more advanced drawing challenges.
- Is Frankie Katafias Still Working At Kiro 7 The Inside Scoop Yoursquove Been Waiting For
- Mr Hands
- The Magic Of Star Session Set Your Ultimate Guide To Mastering The Art
- Burger King Plane Guy
- Raw Stopper Web 023kristi Noem Before
Demystifying the Process: A Step-by-Step Guide to Scissors Drawing
The good news is that with a structured approach, drawing scissors becomes much more manageable. This tutorial shows how to draw a pair of scissors in six easy steps, providing simple illustrated examples and straightforward instructions. The scissors used as the example are drawn with a fairly basic design to make the tutorial beginner friendly. Let's break down the process into manageable phases.
Phase 1: Starting with Geometric Foundations
Every complex drawing begins with simple shapes. Think of your paper as a blueprint. Begin your scissors drawing with the blades. Start with the one in the front. In this case, it is the blade connected to the upper bow (handle). Don't try to draw the perfect curve immediately. Instead, sketch light guidelines. You can often see the basic structure of a scissor blade as two long, tapering rectangles or triangles joined at one end. For the handles, think of elongated ovals or circles. Lightly sketch a central axis line to help maintain symmetry, especially for the handles and the pivot point. This initial phase is about establishing the overall size, proportion, and placement of the main components.
Phase 2: Sculpting the Blades and Handles
Now, it's time to refine those initial geometric shapes into the distinct forms of the scissors. Make the blade wider as it goes from the tip towards the base and give it an upwards bend near its end. From the bend on, make it narrower. Pay attention to how the two blades overlap and where the pivot point is located. For the handles, begin to shape the "bows" where fingers would go. These are typically rounded, somewhat tear-drop or oval shapes. Ensure they are proportionate to the blades and to each other. This is where you start to introduce the "weird angles" that make scissors unique, but by building on your initial framework, they become less daunting.
Phase 3: Refining Details and Adding Depth
With the basic structure in place, it's time to add the finer details that make your scissors drawing look realistic. This includes the sharp edges of the blades, the small screw or rivet at the pivot point, and the inner contours of the handles. Consider the thickness of the material; scissors aren't flat. You can indicate this by drawing a second, parallel line slightly offset from the main outline, especially along the edges of the blades and the handles. This adds a sense of three-dimensionality. Don't forget the small details like the finger rests or any textured grips on the handles. These small additions significantly enhance the perceived quality of your drawing.
Phase 4: Bringing Your Scissors Drawing to Life with Shading
Shading is what transforms a line drawing into a three-dimensional object. Identify your light source. Where is the light coming from? This will determine where the shadows fall and where the highlights appear. Apply light layers of graphite (or your chosen medium) to build up tones. The blades, being metallic, will have strong reflections and sharp contrasts between light and dark. The handles might have a softer, more diffused shading if they are plastic or rubber. Use cross-hatching, blending, or stippling to create different textures and values. Remember, shadows define form. A well-shaded scissors drawing will pop off the page, looking solid and real.
Exploring Diverse Scissors Designs in Your Art
While a basic design is great for learning, the world of scissors is incredibly diverse! Once you've mastered the fundamental scissors drawing, challenge yourself by exploring different types. Think about:
- Standard Office Scissors: The classic design, often with plastic handles and metal blades.
- Tailor's Shears: Larger, heavier, with one handle typically larger for the thumb and the other for multiple fingers. They often have a distinct, elegant curve.
- Embroidery Scissors: Small, delicate, often with very pointed tips and ornate handles.
- Garden Shears/Pruners: More robust, often with spring mechanisms and ergonomic handles. Watch the video to learn how to draw a pair of scissors (or garden shears!) using 2 different methods.
- Pinking Shears: Recognizable by their zigzag blades, used for cutting fabric to prevent fraying.
Each type presents its own unique set of curves, angles, and material textures, offering endless opportunities to practice and expand your drawing repertoire. Observing these variations will deepen your understanding of form and function in design.
Ella Richards: A Visionary in Scissor Drawings
When discussing scissors drawing, it's impossible not to mention Ella Richards, an artist who has taken the concept to an entirely new, minimalist level. Ella creates what she calls "scissor drawings," but not in the traditional sense of drawing *of* scissors. Instead, her original drawing is cut out of black paper and attached onto watercolor paper, using scissors as her primary artistic tool. This unique approach highlights her belief in minimalism, both in color (black and white) and in line and subject. Her tools are uncomplicated: scissors, paper, and glue.
Ella finds the cutting meditative, transforming the act of drawing into a tactile, subtractive process. Her work is a testament to how an everyday object can become a powerful instrument for artistic expression, challenging conventional notions of what a "drawing" can be. She demonstrates that sometimes, the simplest tools yield the most profound results.
Ella Richards' Artistic Philosophy and Journey
Ella Richards was trained as a watercolor artist, a discipline often associated with vibrant colors and fluid forms. However, her interest in minimalism and simplicity led her to create her own art form which she calls scissor drawings. This shift wasn't just a change in medium but a profound philosophical pivot. Ella believes in minimalism not only in the choice of color – often stark black and white – but also in line and subject matter. Her pieces are characterized by clean cuts and precise shapes, embodying a quiet elegance. This approach allows the viewer to focus on the essential form and emotion conveyed, rather than being distracted by intricate details or a broad color palette. Her journey exemplifies how artists can evolve their practice by following their core beliefs, even if it means stepping away from traditional training to forge a unique path.
Ella Richards: Key Biographical Data
| Attribute | Detail |
|---|---|
| Artistic Focus | Minimalist Scissor Drawings (cut paper art) |
| Primary Medium | Black paper, watercolor paper, scissors, glue |
| Background Training | Watercolor Artist |
| Artistic Philosophy | Belief in minimalism of color, line, and subject |
| Creative Process | Finds the cutting meditative |
| Known For | Original drawings cut out of black paper and attached onto watercolor paper |
Making Scissors Drawing Fun and Accessible for Kids
Learning how to draw a scissors for kids easy and step by step is a fantastic way to introduce young artists to observational drawing. The structured approach of breaking down the object into simple steps makes it less intimidating. Young artists will enjoy learning how to draw scissors in 6 simple steps. Expect 6 easy steps to follow; kids will enjoy drawing their own pair of scissors on paper. This drawing lesson is perfect for fostering creativity and fine motor skills.
To make it even more engaging, encourage them to draw this cute scissors by following this drawing lesson. Use bright colors for the handles, or even add patterns. The last page of downloadable PDFs often includes a coloring book page with just the outlines and an extension exercise for prompting kids to get creative! This not only reinforces the drawing steps but also allows them to personalize their artwork. Remember, the goal is enjoyment and learning, not perfection. Celebrate every line and every attempt!
Essential Resources for Your Scissors Drawing Journey
The journey to mastering scissors drawing is made much easier with the right resources. Fortunately, there's a wealth of materials available to guide you. Many tutorials, like this one, offer step-by-step instructions. You can learn how to draw a great looking scissors with easy drawing instructions and video tutorial. By following the simple steps, you too can easily draw a perfect scissors.
For visual learners, watching a video tutorial can be incredibly helpful. "Hi everyone, in this video i show you how to draw scissors step by step ️, Follow my step by step drawing tutorial and make your own scissors drawing easy!?" Such videos often provide real-time demonstrations of how to hold the pencil, apply pressure, and make specific strokes. Additionally, get free printable coloring page of this drawing. Also included is a printable version of this scissors drawing tutorial. Scissors drawing (easy) PDF download options are common; simply click the link below to view or download this drawing lesson. The PDF is a printable drawing lesson for scissors drawing (easy), perfect for practicing offline. Don't forget to bookmark sites that daily add new tutorials, ensuring you always have fresh content to explore. You can also find and save ideas about scissors drawing on Pinterest, a great source for inspiration and different artistic interpretations.
Cultivating Your Artistic Eye Beyond the Basic Outline
Once you feel comfortable with the basic scissors drawing, remember that art is about more than just replicating an object. It's about interpretation, expression, and continuous learning. Challenge yourself to draw scissors from different angles, in different lighting conditions, or as part of a larger still life composition. Experiment with various drawing mediums – pencils, charcoal, ink, or even digital tools – to see how each affects the final outcome.
The lessons learned from drawing a seemingly simple object like scissors are transferable to countless other subjects. The ability to break down complex forms, understand perspective, and apply light and shadow are universal principles in art. So, keep practicing, keep observing, and most importantly, keep enjoying the process of creation. Your artistic journey is a continuous exploration, and every line you draw is a step forward.
Conclusion
Drawing scissors, initially perceived as a daunting task due to their intricate angles and curves, can truly become an accessible and enjoyable endeavor for artists of all ages. As we've explored, by breaking down the process into simple, geometric steps, anyone can learn how to draw a great looking scissors. From laying the foundational shapes to refining details and adding depth through shading, each phase builds confidence and hones essential artistic skills. The journey of scissors drawing is not just about rendering an object; it's about developing an analytical eye, understanding proportion, and embracing the challenge of everyday items as subjects for artistic growth.
We've seen how even an everyday tool can inspire unique artistic expressions, as exemplified by Ella Richards' innovative approach to "scissor drawings." Whether you're a young artist just starting out or an adult seeking to refine your skills, the wealth of resources available – from video tutorials to printable guides – makes learning easier than ever. We encourage you to pick up your pencil, follow these steps, and discover the satisfaction of creating your own perfect scissors. Share your creations in the comments below, or tell us what other "hard to draw" objects you'd like to tackle next! Keep practicing, keep exploring, and let your creativity cut loose!
- Paige Vanzant Leaked Nudes
- Tragic News Yandy Smiths Son Passed Away
- Mr Hands
- Exploring The Fascinating World Of Yololary Spiderman
- Katrina Sloane

How to Draw Scissors - HelloArtsy
Scissor Drawing at GetDrawings | Free download

How to Draw Scissors - Really Easy Drawing Tutorial
